Our contractor started some renovation of the farmhouse at Thistle Ha’ in mid-April, 2011. Sets of daily photos show progress of the project, along with a few comments. All dimensions noted are actual measurements; for example, the studs used to support lathe and plaster walls actually measure 4 inches, not the modern lumberyard equivalent, which measure 3-1/2 inches.
Day 1 – Home Wreckers
Demolition started in what many of you know as the old dining room. Contractor is carefully removing all original doors, light fixtures, trim and maple flooring for future reuse. This room is thought to have been the original kitchen built in a one storey structure. It became the formal dining room after the second storey was added later.
Day 2 – Floating Floor circa 1855
Upstairs bathroom was demolished.
 
|
The design challenge has been how to get modern utilities into a space enclosed by four stone walls without additional bump-outs or bulkheads. Decision was to service each room from within the walls and floor joists, so the side interior walls and ceiling had to go. Original 2-inch thick tongue-and-groove pine floor in old dining room was also removed. This floor was completely sound, but with surface badly worn and full of thousands of nails from various floors laid on top; reuse is improbable. The floor joists below measure 3-3/4+ inches by 10-1/2+ inches, spaced 16 inches apart on centre. Unlike the rest of the house, where the floor joists are mortared into sockets in the stone walls, these joists sit loose on the sill plate – they are not even toe-nailed in place. Still perfectly sound after nearly 160 years, the sill plate aligns with the inside edge of the 25-inch thick foundation wall, and measures at least 12 inches wide by 3 inches thick. The sill plate is anchored by the 21-inch stone wall built on top, leaving a 4-inch ledge to support the floor joists. Because the dimensions of each joist vary, the bottom ends were custom notched to ensure a level floor. The studs in the original lathe and plaster wall measure 4-inches square.
Finally, a detail of the original wallpaper found underneath the staircase.
Day 3 – Start Digging
The contractor was expecting to have to dig out a crawl space below the floor by working between the joists. Instead they numbered the loose joists and carried them out the door. Then they started digging a deeper crawlspace for the utilities. A conveyor is used to carry the dirt outside.
Day 4 – Stones
The stone masons buried all their mistakes under the floor.
Day 5 – Digging Deeper
The contractor asked whether we’d like an indoor pool.
Day 6 – Crawlspace
House renovation continued with completion of rough dig out of the crawlspace.
Day 7 – A Stone that Can’t Be Broken
Cellar access to the new crawl space was completed by enlarging the hole in the cellar wall (not pictured). During this work, a great fear came true. A stone estimated to weigh 160 kg (350 lb.) had to be removed. It couldn’t be split into smaller pieces for removal. The picture shows the stone after 2 hours of jackhammering. Hugh Miller/Thistle Ha’ said that the pioneers would once in awhile find a stone that the mason’s hammer couldn’t break. In the fields, these stones were either dynamited, or heated by a wood fire for about a day, then shattered with a pail of water poured on top of the stone. Not viable options in the middle of a house.
Day 8 – Porch Demolition
Concrete porch was demolished, and digging for new foundation was started.
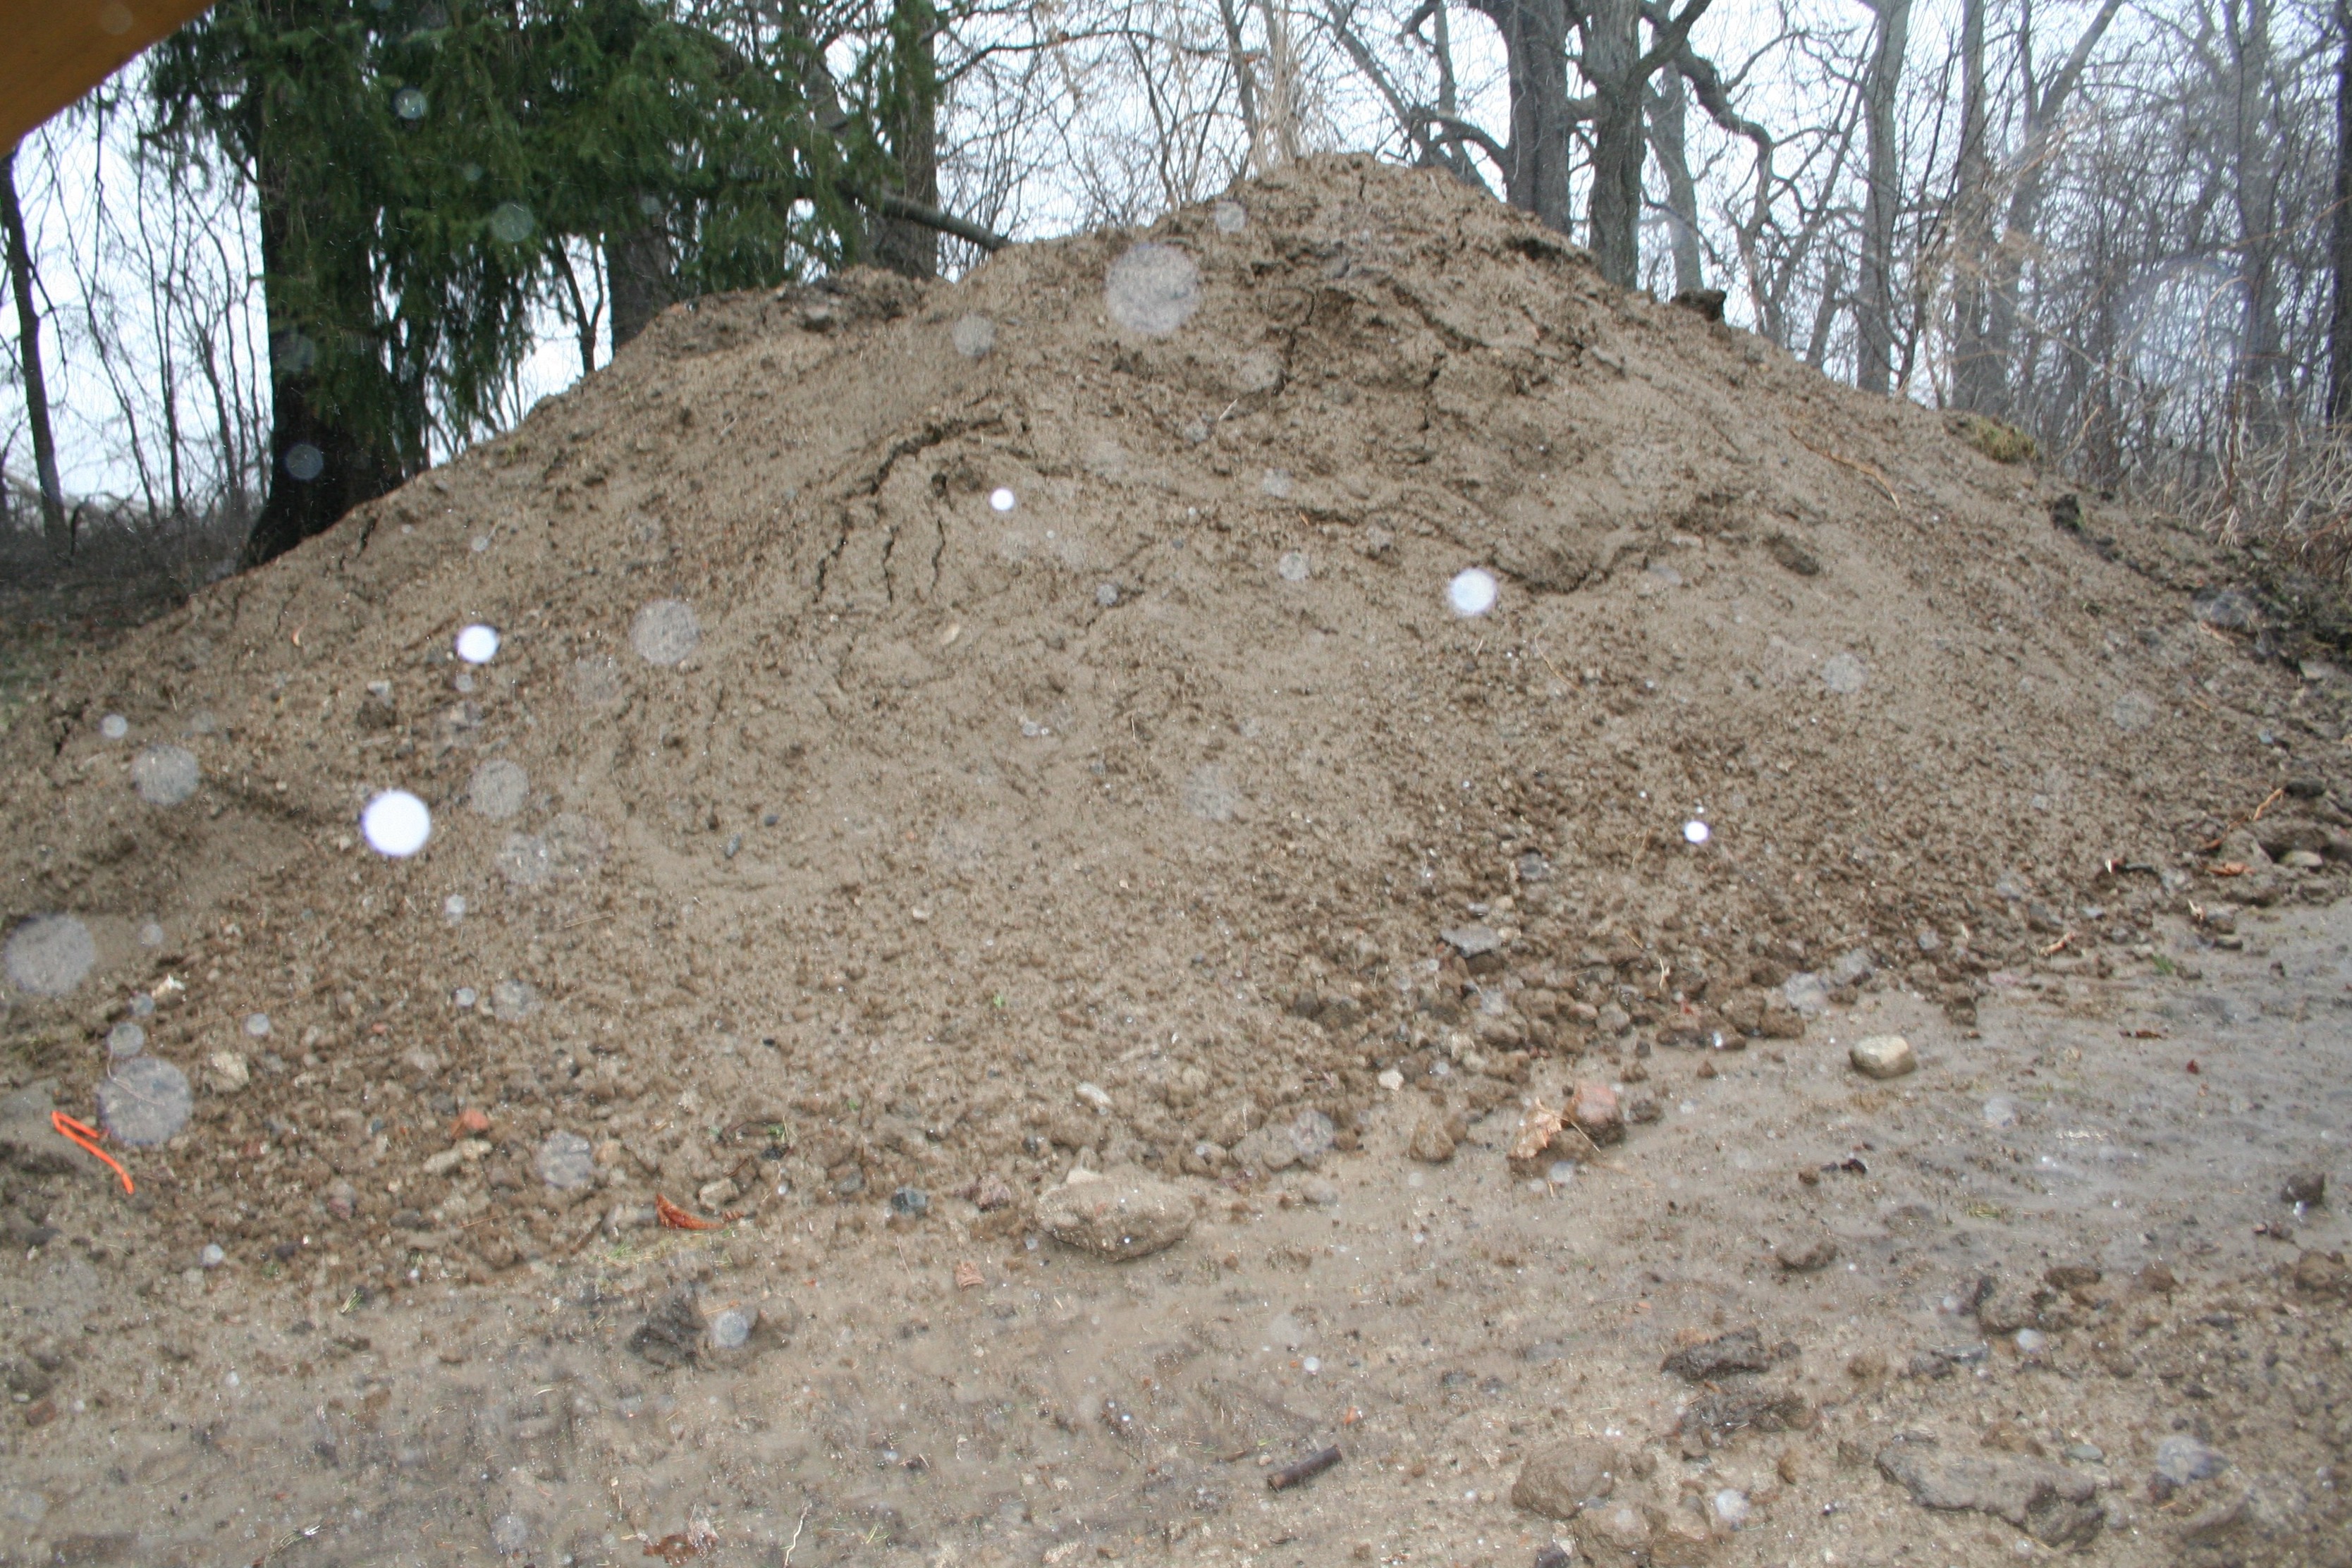
Day 9 – More Digging
Masonry repairs to stone wall opening to crawlspace underway. Digging for weeping tile along the walls started. Pictures of the piles of dirt and stones removed from the crawlspace were taken during a snow shower.
Days 10 and 11 – Crawlspace Framing
Several days of heavy rain slowed house renovation this week. Framing for the crawlspace and porch footings took two days to complete.
Day 12 – Wet Cement
Crawlspace and porch footing framing passed building inspection, then the footings were poured.
Days 13 and 14 – Crawlspace Wall
Building at last! Crawlspace retaining wall was finished.
Day 15 – Crawlspace drainage
House renovation continued with installation of weeping tile around the perimeter of the old dining room wall, topped by crushed stone, a vapour barrier, then the final layer of crushed stone.
Day 16 – Reinstallation of floor joists
Old dining room floor joists were reinstalled 16-inches apart on centre. Recall that these joists measure 3-3/4+ inches wide by 10-1/2+ inches deep. The masons also built the frost wall on the porch footing.
Day 17 – Crawlspace wall studding
Crawlspace wall studs started. The masons also did a lot of three-dimensional cutting to fit cement blocks tightly to the existing stone wall and finished the opening from the cellar into the crawlspace. This wall is 24-inches thick. They also added a steel lintel across the top of the opening to support the first floor joists.
Day 18 – Crawlspace wall insulation
Crawlspace walls were insulated with fibreglass insulation, vapour barrier, cement board, then sealed with tape.
Day 19 – Laminated floor joists
To replace damaged floor joists, new ones were made by laminating together a pair of 2x12s. The porch wall was backfilled with crushed stone.
Day 20 – Knee wall
Significant progress was made in this week’s house renovation, starting with construction of a knee wall on top of the crawlspace retaining wall to support the floor joists in the old dining room.
Day 21 – New cellar floor
Previously, weeping tile had been installed around the perimeter of the cellar, draining into a sump. This was topped with crushed rock, then a new concrete floor was poured with a hand trowel finish. The first photo shows the view from the new crawlspace (under the old dining room) through the finished wall opening into the cellar. The second photo shows the new cellar concrete floor; the crawlspace opening is on the left. Forms were installed around the furnace and water heater. These utilities will be moved for a later concrete pour to fill in the holes.
Day 22 – Metal bangers
Subfloor in old dining room using 3/4-inch tongue and groove plywood was started. The heating contractors replaced the old furnace with a new one, and started to hammer together new heating duct in the crawlspace.
Days 23 and 24- Wall studs
Installation of 2×6-inch wall studs in the old dining room was started.
Day 25 and 26 – Shimming
This week in house renovation started slowly with a couple of days spent preparing for the trades, and shimming the original joists in the old dining room to match the new ones to ensure a level floor.
Day 27 – Drains and ducts
Plumbers came onsite to remove obsolete plumbing and start drain and vent piping. Mechanical began installing heating and cold air return ducts to the old dining room and the second floor (heating ducts can be seen running between the wall studs between the windows on the right). They remained onsite for the remainder of the week.
Day 28 – Old dining room subfloor complete
The subfloor is finished at last! Temporary window trim can be seen installed on the left in preparation for verifying final cabinet layout dimensions.
Day 29 – Old dining room wall studs complete
Wall studs were finished to be ready for the plumbing and electrical trades. Final cabinet dimensions were measured to be sent to the factory. The furnace is shown after mechanical finished the heating installation.
Days 30 and 31 – Plumbers
The trades dominated the house renovation. Because they do all their work within the rough framing, the differences between daily photos are subtle. The plumbers completed vents and drains; then they started water piping installation in both the old dining room and second floor areas. Because it is easier to install, cross-linked high density polyethylene (aka PEX) is now more commonly used than copper piping in new installations.
Day 32 – Plumbers continued
Second floor bathroom had a subfloor installed. Plumbers completed their initial work and pressure tested the water pipes.
Day 33 – Electricians
The electricians took over, starting to install receptacles and wiring in both the old dining room and second floor areas.
Day 34 – Running wire and closetDays 108 and 109 – New and used maple flooring
Finishing details dominated recent house renovation work. It took several days to repair the maple flooring. Existing hardwood was torn up to provide material to fill in gaps where partitions had been removed, and the new maple installed to replace hardwood missing in the central hall.
Day 35 – Ceiling support
Support track for the drywall ceiling in the old dining room was installed.
Days 36 and 37 – Wiring finished
Wiring of the old dining room and second floor bathroom was finished and insulation of the exterior walls of the old dining room started.
Day 39 – Vapour barrier
This was the common comment in the house renovation this week as the walls started to take shape. The joist bays were insulated and vapour barrier installation was completed in the old dining room.
Day 40 – Upstairs bath insulation
The second floor bathroom was insulated.
Days 41 and 42 – Boarding
Wallboard installation was done in the second floor bathroom and the new closet.
Day 43 – More boarding
Wallboarding was started in the old dining room.
Days 44, 45, 46, 47 – Mud, mud, glorious mud
Over the past two weeks, the house renovation continued with completion of wall board installation. Then the finishers taped, mudded and sanded the dry wall in the old dining room and the second floor bathroom over four days:
Days 48, 49, 50 – In the white room
The old dining room and the second floor bathroom were painted with a prime coat.
Days 51 and 52 – In living colour
The old dining room received its first coats of paint, the subfloor was prepared for flooring, and the second floor bathroom shower base was dry packed.
Day 53 – Flooring and tiling
Maple flooring was started in the old dining room, and tiling of the second floor bathroom shower was started.
Day 54 – Floored
Completion of the flooring in the old dining room started this week in house renovation. Flooring is immediately protected with cardboard.
Days 55, 56, 57 – Some assembly required
Cabinetry was installed in the old dining room, and flooring and first coat of paint was added to the upstairs bathroom.
Day 58 – Measuring
This week in house renovation started with preparing and measuring the old dining room for wooden trim and cabinet tops, and a vanity was installed in the second floor bathroom.
. 
|
Day 59 – Plumbing
Plumbing fixtures were added in the old dining room and the second floor bathroom.
Days 60, 61 – Trim
Installation of window and baseboard trim began in the old dining room
Day 62 – Electrical
Installation of electrical fixtures began in the old dining room and the second floor bathroom.
Day 63 – Grouting
The last two weeks of house renovation started with wood trim painting in the old dining room, plus grouting the second floor tile.
Day 64 – Full house
A very busy day. Wood trim painting continued in the old dining room, the electricians installed lighting, and rebar was installed in preparation for the concrete porch floor.
Day 65 – Porch pour
Wood trim painting was finished in the old dining room. The porch floor was poured using coloured concrete. A board surface was simulated by using a rubber mould to imprint the wet concrete. A grey powder mould release is sprinkled on the concrete surface to prevent wet concrete from sticking to the mould.
Day 66 – Disaster
High pressure washing the grey powder mould release from the porch floor revealed that it was the wrong colour. The concrete supplier salesman inspected the job, said that the wrong colour code had been entered at their order desk, and agreed to bear the entire cost of removing the concrete and pouring a new porch floor. The good news was that wood trim was applied in the second floor bathroom and a cabinet installed in the laundry room.
Day 67 – Headache
A crew spent all day jackhammering the porch floor and removing the concrete. The doors in the old dining room and trim in the upstairs bathroom were painted.
Day 68- Counters
Installation of counters began in the old dining room.
Day 69 – Plumbing
A counter was added to the laundry room cabinet, and plumbing was done in the old dining room, second floor bathroom and the laundry room.
Day 70 – Déjà vu
The porch floor was repoured and imprinted using the right coloured concrete.
Day 71 – Painting
House renovation continued with week with another coat of paint on the trim work in the old dining room, plus cutting trim for the west windows.
Day 72 – More cabinets
Back-ordered cabinet pieces were installed in the old dining room.
Day 73 – Electricians
Cabinet and electrical work was completed in the old dining room.
Days 74 and 75 – Trim and painting
West window trim was installed and painted.
Day 76 – More Paint
House renovation continued with yet another coat of paint on the trim work in the old dining room. Walls and ceiling have been painted with primer and three coats of paint. Trim has been painted with primer and four coats of white paint.
Days 77 and 78 – The Vestibule
Exterior door to the old dining room is being enclosed by adding porch on the east verandah, also known as “the vestibule”. Exterior appearance is designed to match the existing south sun porch.
Day 79 – Primer
The vestibule trim was painted with primer paint. Where are the promised screens for the windows and doors? Contractor is asking the supplier what happened.
Day 80 – Cabinet removal
House renovation took a new direction this week as the contractors moved south into the main house. They started a new stage of demolition by removing the cabinets in the bathroom and old kitchen. These cabinets were donated to the Ajax Habitat for Humanity ReStore, which sells used building materials to the public to raise funds for their house building projects.
Day 81 – Old kitchen demolition
Kitchen demolition was finished with removal of the south stub wall. This also exposed the cellar stairway.
Day 82 – Bathroom demolition
The bathroom was demolished.
Day 83 – Framing
Framing started with a bathtub enclosure in the bathroom, and a new wall on the east side of the old kitchen area. The entry to the cellar stairway from the side of the hall was closed in. The electricians and plumbers were onsite to remove obsolete services and start installation of new wiring and piping.
Day 84 – More framing
Framing was finished to enable installation of drywall. The picture also shows in the background an example of the plastic sheeting taped to the floor, walls and ceiling, which creates a sealed “bubble” and effectively keeps dust within the construction areas. Answer to last week’s trivia question: supplier neglected to tell us that the porch screens are on backorder.
Day 85 – Electrical changes
The house renovation contractors have spent most of the past three weeks slogging through reconstruction of some rooms in the main house. The electricians started by doing the rough-in for moved or new switches, receptacles and fixtures.
Day 86 – Plumbing changes
Plumbing rough-in was completed and bath tub installed. The contractors also started to install drywall in the hallway.
Day 87 and 88 – Wall boarding
Most of the drywall was installed in the bathroom and old kitchen areas.
Day 89 – Porch again
The porch walls were insulated and interior trim installed.
Day 90 – Doors
Where required, doorways were reframed, and doors installed.
Days 91 and 92 – Drywall details
The remaining small pieces of drywall were installed.
Days 93, 94, 95 and 96 – Taping and mudding
Drywall joints were filled and sanded smooth.
Day 97 – Hardwood flooring preparation
Renovation results in several gaps in the maple hardwood flooring where partitions were moved. Flooring was removed to enable “weaving in” new pieces, making the finished hardwood floor whole.
Days 98 and 99 – Ramp
A ramp was constructed in the doorway connecting the old dining room to the hallway, eliminating the step that has existed in this doorway since the house was built.
Day 100 – Floor repairs
This short week in house renovation – the contractor focused on completing required room repairs to be ready for finishing. Holes from removal of old plumbing in the bathroom floor were repaired and subfloor patched with new pieces.
Days 101 and 102 – Wall repairs
The architect specified that existing drywall in the areas being renovated be “made good”. This took a couple of days of patching.
Day 103 – Backsplash
Backsplash tile in the old dining room was finally installed. The decorative thistle mosaic was custom designed and hand crafted in Canada by Earth Song Tiles.
Day 104 – Grout
Progress in this week in house renovation was slowed by contractor illness. Backsplash tile in the old dining room was grouted.
Days 105 and 106 – Bathroom tile
Tile was installed and grouted in the ground floor bathroom.
Days 107 and 108 – Ready for new maple flooring
The search to find new maple flooring to match the character of the existing floor has been successful. Pieces from the existing floor were carefully cut out to ensure staggered joints in the repaired floor. The photo shows how much flooring has to be removed to patch the grey-coloured rectangle previously occupied by a wall partition.
Day 109 – New and used maple flooring
Finishing details dominated recent house renovation work. It took several days to repair the maple flooring. Existing hardwood was torn up to provide material to fill in gaps where partitions had been removed, and the new maple installed to replace hardwood missing in the central hall.
Days 110 and 111 – Bathroom
A new vanity was installed in the bathroom.
Day 112 – Grout and flooring
Bathroom tile was completed, grouted, sealed and primer coat of paint added to the walls. The repaired hardwood flooring was completed.
Day 113 – Wood trim
Adding 12 sets of trim to a window and doorways was started.
Day 114 – Hardwood sanding
Repaired and new hardwood flooring was sanded. Contractor uses a “big iron” Clark belt floor sander that was older than he was. It makes quick work of smoothing the very hard maple flooring.
Days 115 and 116 – Electrical and painting
The electricians installed all lighting fixtures. Painting of walls and trim started.
Days 117 and 118 – Plumbing and painting
The plumber finished the bathroom plumbing. Painting continued.
Days 119, 120 and 121 – Closet and painting
Closet doors were installed. Painting continued.
Day 122 – Another closet
A closet was built into the second floor bathroom.
Day 123 – Floor finishing
The maple flooring was urethane finished.
Day 124 – Electrical
The electricians finished by adding cover plates to junction boxes, receptacles and switches.
By late October, our architect had inspected the house renovation, and produced a list of “deficiencies” to be corrected by our contractor. Also known in industry as either the “punch” or “butt” list, these items are details that were overlooked during rush of the project, or never quite got finished to design specifications. This list was completed in mid-December; major work included painting, addition of bathroom fixtures and installation of the glass shower panel and rod in the bathroom.
Days 125 t0 131 – Highlights